Open the
Lamp.CATProduct document then create a spot light source by clicking
Create Spot Light
![]() .
.
-
Click Simulation
 .
The Select dialog box opens:
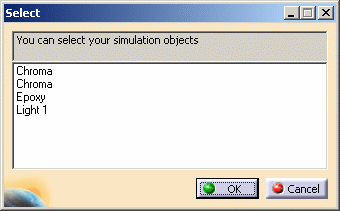

Reminder: in the above Select window, you can see only two object types which can be animated through the simulation command (3 materials and a light). Bear in mind, all rendering elements (i.e. the various elements composing a scene) can be animated:
- Lights
- Environments
- Materials
- Cameras
- Turntables
-
Select the object to be animated (Light 1 in our example) then click OK to validate. The Edit Simulation dialog box appears:
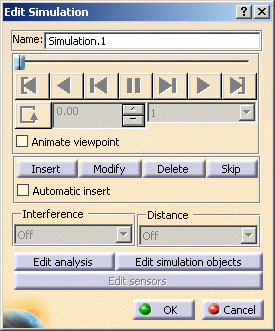

If you first select the element to be animated in the specification tree, then click Simulation  afterwards, the Select dialog is not displayed.
As you can see below, running Simulation snaps the compass to the element to be animated, enabling you to manipulate it very easily: 
-
Click Insert to record the starting shot.
-
Modify the lighting orientation using the 3D compass.
-
Click Insert to record the desired keyframe and insert it into your simulation scenario.
As you insert your first key frame, the dialog box buttons are activated to let you Modify, Delete or Skip the recorded shots.
The initial position is automatically recorded. If you need to reposition your object, delete its first position or modify it. -
Select the interpolation which defines the number of steps between the shots you have recorded:

The lower the number, the slower the replay speed.
Note: the interpolation is used for preview only and does not affect the rendered animation. -
Use the other VCR buttons to play backward, step forward, modify the speed, etc.

-
Click the Play Forward
 button to preview the
animation.
 -
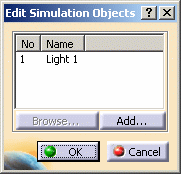
Click Edit simulation objects to edit objects in your simulation. This opens the following dialog box:
-
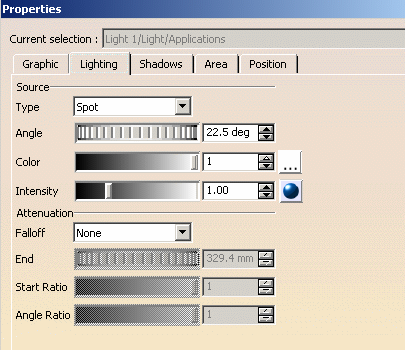
Select the simulation object to edit from the proposed list then click Edit... to open the Properties dialog box:
-
Modify the object parameters as desired then click OK twice to close the Properties and Edit Simulation Objects dialog boxes.
To animate more elements in your simulation, click Add... This opens the Select dialog box and enables you to select additional objects: 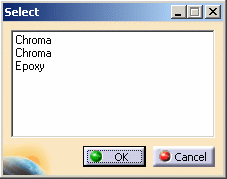
-
Modify the parameters and the object position to change the viewpoint as often as necessary, clicking Insert to record each of the desired shot.
-
Replay your simulation with the Animate viewpoint check box selected:
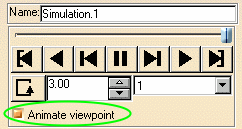
The simulation is replayed and shows the viewpoint changes you recorded. This option can be activated whenever you want, either before recording the simulation or after. 
You can select the Automatic insert check box at any time. This option records the shots automatically as you move the object as often as necessary. -
Click OK to save your simulation.
Your simulation is identified in the specification tree along with the simulation track displayed in the geometry area: 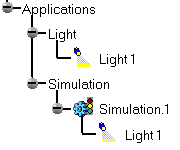
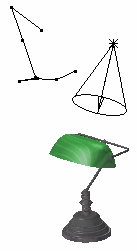
Whenever you wish to modify the simulation, just double-click its track or its name in the specification tree to re-open the Edit Simulation dialog box.
You can also record a fitting track using lights and environments. For detailed information on tracks, refer to Using Tracks in the Version 5 - DMU Fitting Simulation documentation.
![]()