-
You can also access the Named Views dialog box by clicking Named Views
 in the View toolbar.
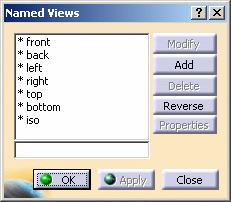
The Named Views dialog box appears:

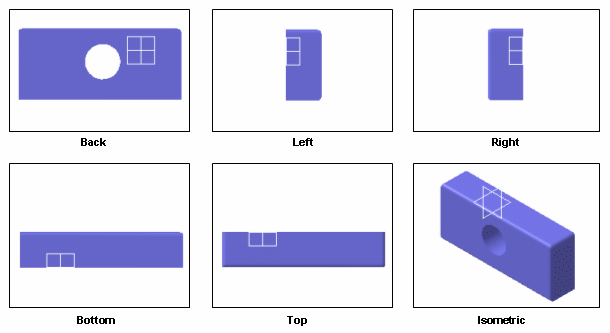
The list provides a number of default standard views you can use to display the document: - *front
- *back
- *left
- *right
- *top
- *bottom
- *iso.
-
Double-click the desired view.
-
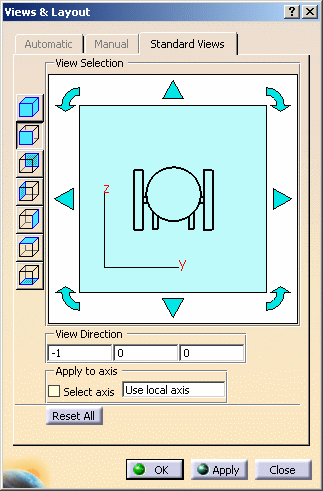
You can modify the standard view properties by selecting a view in the list then clicking Properties. The Views and Layout dialog box is displayed:

For detailed information on how to use the Standard Views tab, refer to Creating a Multi-View: Standard Views' Customization. The other two tabs (Automatic and Manual) are grayed out because they are not relevant here. These tabs are used to define a Manual or Automatic configuration when working in multi-view mode.
-
When finished, click Apply then OK to validate your parameters and close the dialog box.
-
In the Quick view toolbar (or in the View toolbar if you did not pulled the Quick view toolbar away), select the standard view you customized: the view is applied with its new properties to your current viewer.
If no customization has been defined for a standard view, the default standard view is applied.
![]()


